Nested Components in React
In this article, we will learn about the rules of the nesting component and component structure in the ReactJs. The React UI is a collection of pieces and all pieces are individual components. The nesting concept is the best way to organize code and competent structure in huge applications.
What is Nested components?
The nested component is a collection of more than one component to connect each other to share data through props. In the nested component, one component is the parent component and more the one child component. The child component is imported inside the parent component to share data from parent to child. We can make different work in many components and can inherit each other to share our own functionality.
The nested component is reusable in the application. It creates code very understanding structure for every coder. The code is in minimum amount when using this concept for connecting the child to the parent component. This is to say that rather than inheriting one component from another, each component is created by assembling smaller ones.
Syntax
import Button from './Button';

const App = (props) => {
  return (
    <>
    <Button />  // child component
    </>
  );
}
export default App;
Nesting with Button component
We create a Button component in the project structure to use every parent component according to need. So for implementation, we will follow step by step.
- 1: The Button component is imported into the parent component file.
- 2: We call the Button component in the App component, in which location to show the button, we can call.
- 3: In the Button component, we can pass dynamic text from the API to show the button name.
- 4: When the App component is rendered the child component will automatically render.
AppButton.js
import React from "react";
import { Button } from 'react-bootstrap'

function AppButton = ({name}) => {
  return (
    <button>{name}</button> // button name will be received from the props
  );
}
export default AppButton;
App.js
import React from 'react';
import AppButton from './AppButton';

const App = () => {
  return (
    <div>
      <AppButton name={"WebRecto"} /> // we can pass a dynamic name to the AppButton component
    </div>
  );
};
export default App;
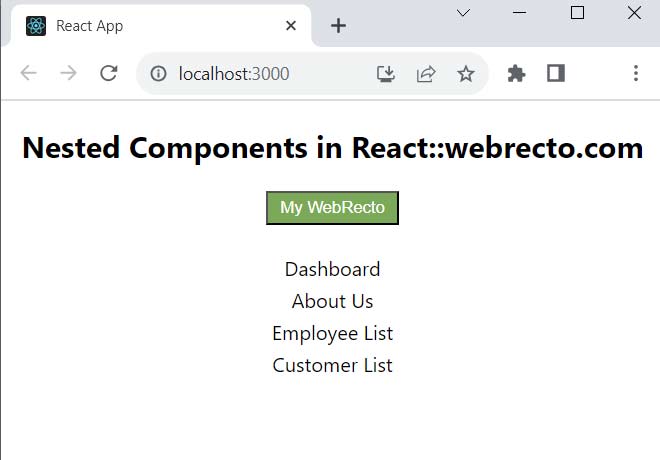
Output:
<button>WebRecto</button>
Create multiple menu with Nesting Component
We use the nesting component to create a header menu or sidebar menu to display dynamically in the parent component. This component receives Array data from her parent component to show the menu. The javascript map function iterates an array of data for set menu names in the html element.
- 1: We create one MenuList child component in the project structure to bind dynamically the menu name.
- 2: We Import the MenuList component in the parent component.
- 3: The parent component will pass a set of data to the MenuList component.
- 4: The JavaScript function map() iterates an array of data and sets the menu name.
- 5: We call the MenuList component in which location we want to show menu list.
MenuList.js
function MenuList(props) {
  const { menuItems } = props
  return (
    <div className="menu">
      <div className="menu-items">
        {menuItems.map(({title}, index) => (
          <li key={index} title={title}>{title}</li> //Menu name will bind in li element
        ))}
      </div>
    </div>
  )
}
export default MenuList;
App.js
import React from 'react';
import MenuList from './MenuList';

const App = () => {
    // Menu data can set from API
const menuItems = [
    { title: "Dashboard" },
    { title: "About Us" },
    { title: "Employee List" },
    { title: "Customer List" },
  ]
  return (
    <div>
     <MenuList menuItems ={menuItems}/> // we pass menuItems array to child component
    </div>
  );
};
export default App;
Output:
Dashboar  | About Us | Employee List | Customer List
Update Parent state by nesting components
We can pass the parent component's state as a prop to the nested child components. The child components, also update the parent's state. The child component will update its state when the parent component is rendered.
- 1: We create a TextArea Component in the project to update the parent state.
- 2: In the TextArea component, I create a <textarea></textarea> HTML element to update text.
- 3: When we write any text in the textarea box, the handleChange() event sets the box value.
- 4: In the parent component, we use handleChange event to set setContent, When setContent is updated, the state will automatically updated.
TextArea.js
function TextArea(props) {
  const { handleChange } = props;
  return (
    <textarea onChange={(e) => handleChange(e.target.value)}></textarea>
  );
}
export default TextArea;
App.js
import React, {useState} from 'react';
import TextArea from './TextArea';

const App = () => {
    const [content, setContent] = useState('');
  return (
    <div>
     <TextArea handleOnChange={setContent}/>
    </div>
  );
};
export default App;
Find the print screen of the output.